Monday, October 17, 2011

gettin' saucy


I spent 4 1/2 hours of this fine fall day with my mother-in-law and seester-in-law's making and canning applesauce.

60 jars later and we're almost experts. 

I'm sharing what I learned both because you might find it helpful and so that next year I can refer back and remember what exactly we did!

A {unofficial} Guide to Making Applesauce


Step 1: Go to a nearby responsible-looking apple orchard. Tell them you are making applesauce. Ask for apple recommendations (I was given McIntosh and Courtland). Request "seconds" - cheaper, possibly slightly odd looking apples from the back.

Step 2: Gather supplies, including large pots, canning jars/rings/lids, canning pot, canning tongs, knives, kitchen towels, food strainer/sauce maker/super cool applesauce maker, etc. It's always good if you can borrow, otherwise bite the bullet and buy everything. Forty years from now you will be glad you did.


Step 3: Slice the apples up. You don't need to peel them or core them, just chop them into slices, about 10 slices per apples (the smaller the pieces the less time it will take for them to cook/get mushy). Watch in awe as your SIL with the quick hands and the big knife makes quick work of this step.

Step 4: Throw them in a large stock pot with "a couple swirls" of water in the bottom [note the exact, precise measurements from my mother-in-law who is the experienced member of the group] ...just enough so your apples don't stick to the bottom of the pot and burn.


Step 5: If it's 10am, Turn on Sesame Street for your toddler. Bonus points if you invited your SIL who loves your kids {almost} as much as you do. She will prove to be invaluable both for entertaining the little one and for running to Meijer when you run out of canning jars and need more.

Step 6: Once the apples are sufficiently cooked/mushed, start transferring them to the super cool applesauce maker. Mash them down with the red thing and crank the handle. This is where the magic happens.


Step 7: Hopefully you remembered to put a rectangular Tupperware container under your super cool applesauce maker where the applesauce comes out and a bowl on the other side where all the gunk comes out - the seeds, stem, peels, etc. Give the apple gunk to your super cool SIL with the organic garden so she can add them to her compost pile.

Step 8: Using a funnel, start filling your jar with the applesauce. Wipe the rims down and top with your canning lids and rings. Repeat until you have a canner load full.


Step 9: Fill the canning pot with jars. Once the water is boiling, set the timer for 20 minutes.

Step 10: Repeat steps as needed. Stop and enjoy some lunch {or some applesauce} during the lulls in the action.


Final Step: Enjoy the fruits of your labor! (You don't need to tell Mady that twice.)

Note: We got 23 quarts out of a bushel of apples. We were told we would get 16-ish and for whatever reason we ended up with way more.

Friday, October 14, 2011

Done List

I knocked two things off my To Do list this week. They are now officially moved to my Done List.

First up: hanging a couple of Ikea BYGEL rails + s-hooks in our closets. This was a Pinterest inspired solution (I'm sure you're starting to catch on by now that all good ideas come from Pinterest) and they've been sitting in the package ever since I bought them a month or so ago.

My two favorite parts of this project...1) it was cheap - $1.99 for the rail and $.99 for the s-hooks, and 2) it's brilliant - no more wasted space behind the closet door and no more little things cluttering up my closet.


Project #2: moss-covered letters. These were one of my very first pins and I knew they would look great with all the red in our living room and bring in a natural-ish (as natural as moss glued on cardboard can be) element as well.

This project was idiot-proof, I kid you not. All it took were some cardboard letters, a roll of moss, a hot glue gun and a pair of scissors. I thought it would be a lot harder to cover the letters and hide seams but moss might just be the most forgiving crafting material on the planet. Total project time: an hour and a half.


What sorts of Pinterest-inspired projects have you been up to lately?

{more} Ella-isms


Yesterday she says to me:

"I'd like a Zu Zu Pet."

"But you already have a Zu Zu Pet."

"No, I want a real Zu Zu Pet."

"Ohhhh, you want a hamster."

***

There is a boy in her class that told her he would like to marry her. 

To him I say: "As if you could even hope to keep up with her."

***

Her favorite cheer complete with her own sassy moves:

"Eagles got the muscle. Let's show them how to hustle.

Hut hut hut, say what? Hut hut hut, OK!"

***

Excited about our upcoming vacation to an all-inclusive resort,

she told her pre-K teacher today:

"I'm going to drink a hundred Pina Coladas."

***

Caption to the above photo:

"What's up, dudes?"

***

Our spunky, funny, smart, pretty, precious Ella.


Friday, October 7, 2011

Couples Retreat | Wine Country Edition

how we spent our weekend:

lunching

cherry pit sitting

tasting

touring


relaxing

spilling

cheesing

swinging

kayaking

hiking

planking

living.

Blessed to call these {crazy} people our friends!

Thursday, October 6, 2011

Craft Night: Let's Get Clippy


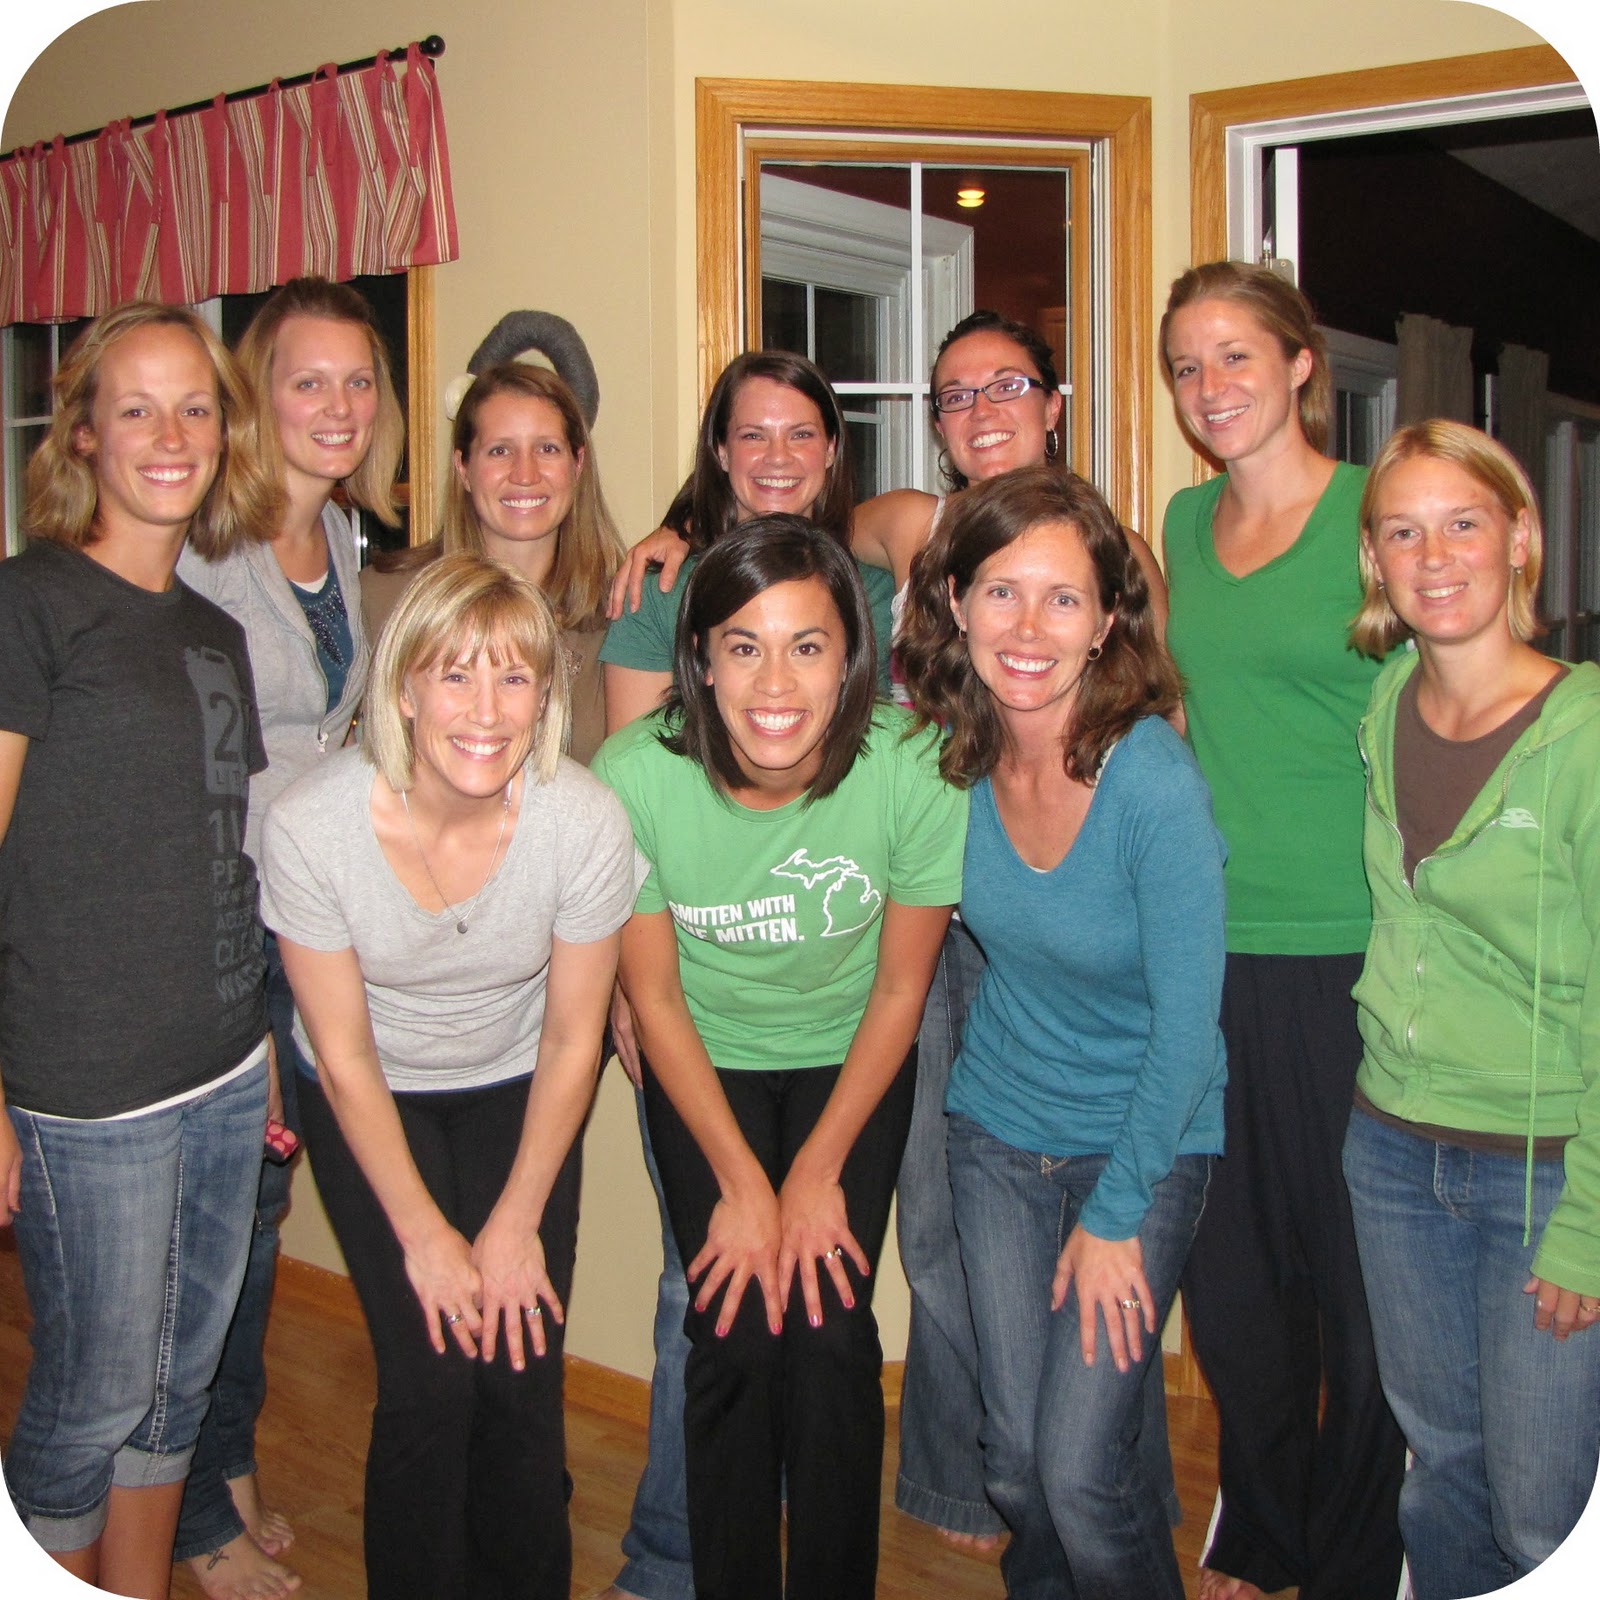
I'm not an overly crafty kind of girl, but something about hosting a ladies' craft night sounded fun to me and my favorite gal pals/partners in crime (plus it's #15 on my list).

I'm blaming Pinterest: so much inspiration to be found there and actually following through on a Pinterest-y idea helps justify the amount of daily time I spend searching and pinning.


And apparently my friends were all crafting undernourished. For the first time in my party inviting life I had a 100% YES, I'M COMING! response rate. Who knew these girls were just waiting and hoping to be invited to a gathering where Mod Podge takes center stage??


The craft of the evening was Mod Podging paper onto clipboards (tutorial here) - some girls are planning to use these for organization at home (i.e. a clipboard for each child's school papers) and some are planning to give them as gifts.

So for three hours we ate and plotted and cut and Mod Podged and laughed and crafted...and problem solved a few crafting mishaps.

We might not be Martha Stewarts in the making but we did get out for an evening and forget about the laundry and our needy adorable toddlers and, as an added bonus, we got in touch with our inner craftiness. In a busy, virtual world, there is something to be said for working with your hands and actually physically accomplishing something.

Viola! {A few of our finished products below - mine, T's and KMac's}


Our mantra: Finished is better than perfect.

Until next month!


Friday, September 23, 2011

fire up!

Once upon a time, I spent many fall Friday nights on the track,
so I was more than a little bit excited for Ella to have a turn.

I sewed and glued and tied her first cheer bow,


and then acted like that crazy mom


smiling and waving and taking pictures on the other side of the fence.


(I won't lie...we even practiced together when we got home.)


I loved every minute.


And yes, I'm crossing my fingers that cheerleading runs in the family.


Love this little girl. She makes my heart sing.

Thursday, September 15, 2011

good coffee reads


My favorite way to start my morning is with a good cup of coffee and Google Reader. Some of my new bloggy favorites:
What have you been reading lately? Any good blogs to pass along?

Wednesday, September 7, 2011

technology tickets


I saw this project on Pinterest (orginally from Under the Sycamore) and I was instantly smitten. I like it because it's pretty and because I think it will work.

Here's the idea: each "ticket" is worth 30 minutes of technology time - either TV or computer or video games...whatever your child is into. You put a designated number of tickets in each child's envelope each week and they can use them at their discretion (with Mom and Dad having final veto power) until they run out. You can also reward with extra tickets or take away if needed.

My kids overheard me sharing this idea with Matt this weekend and got excited enough that I went out and actually bought the supplies yesterday. Usually it would take me another month or two to follow through and do the project. My friend Theresa jumped right on board, however, when we discussed the idea at our weekly morning swim today. 

A couple of hours later we were staring down our clipboards in my front lawn with cans of chalkboard paint in our hands.

We painted and cut and rounded and Mod Podged our way through the afternoon and we're pretty excited about the results. We tend to want things to be perfect (which prevents us from ever starting) and we decided it was good therapy to plunge ahead even though we don't consider ourselves to be expert crafters.

Kudos to Ashley Ann of Under the Sycramore for dreaming up this project and posting great pictures of her board. Here are some more detailed step-by-step instructions (or at least our version of them) if you want to give it a try.


Supplies:

Clipboard (my pick = Target)
Chalkboard paint
Painters tape
5-8 pieces coordinating cardstock 12x12 scrapbook paper 
Paper cutter
Corner rounder
Letter stamps & ink
Small brown envelopes
Mod Podge
Hole punch
Ribbon


Instructions:
  1. Tape off clip on clipboard with painters tape. Spray clipboard with chalkboard paint. Use thin, even coats. Let dry.
  2. Cut out tickets with paper cutter. Ours were 2 inches by 6 inches - you can get 12 tickets out of one 12x12 sheet of paper. Round corners. Punch holes.
  3. Cut out smaller squares to stamp initials onto (1 1/2 by 1 1/2 inches) and add the initials - or stamp directly onto your tickets.
  4. Cut out paper for your clipboard. We did one larger piece about 9 inches by 9 inches and then two smaller strips about 9 inches by 1 1/2 inches.
  5. Mod Podge the paper to your clipboard. Apply Mod Podge to your clipboard first (avoid the part of the chalkboard that will be showing at the top and bottom) and then to the back of your paper in thin, even coats with a paint brush. Leave a strip of chalkboard showing on the bottom. Use your hands or a credit card to push the bubbles out. Wipe away any extra Mod Podge. Let dry.
  6. Stamp initials onto envelopes. I did one for Dylan and one for Ella and one for "Mom" [or Mady...someday]. For now I will put the used tickets in the third envelope. Attach envelopes to the front of your clipboard. We used Mod Podge.
  7. Mod Podge lightly over the top of your tickets. Be careful not to smear the ink of the initials. Let dry.
  8. Cut ribbon - I used 6 inch pieces but you could leave them longer if you want. Thread ribbon through the holes of your tickets. Put tickets in your envelopes. Clip extra "reward" tickets onto clipboard.
  9. Hang clipboard in prominent spot in your house. Explain new system to spouse and kids. Enjoy!

{featuring Paper Studio's Hoot Hoot Paper Pack}


Photobucket
Related Posts Plugin for WordPress, Blogger...